The Basics of Yoga Sequencing for Teachers
July 19, 2016 | 6 min read
Yoga Sequencing is the art of putting yoga poses together in a continuous and connected pattern towards an intended result. Some yoga styles such as Ashtanga consist of six series of specialised sequences, to build internal heat. Teachers of Ashtanga are trained to follow the set routine. The same is true for Bikram in which the same 26 poses are performed in the same order each class in a room heated to 105 degrees with 40% humidity. The aim is to detoxify and improve general fitness. Many studios and gyms prefer to offer these styles, along with other fitness/yoga programmes as they are predictable and recognisable to beginners.
Hatha, Vinyasa, Kundalini, Iyengar, Yin and Restorative Yoga, however do not come with a set sequence. These types of yoga require teachers to create a sequence for each yoga class plan. The extra effort required, however more than makes up for the time spent, personalised Yoga sequencing allows you to be creative and versatile. All levels classes can be intimidating for newbies. A thoughtfully designed sequence however can turn that around, attracting more students and improved quality of instruction.
To get started, define your agenda. Decide what you want your students to know and where you want them to be. As a point of reference, begin with your level of experience, design Yoga sequences that begin with basic poses and work towards advanced. As a rule of thumb, follow the arch structure beginning with prep poses building in phases of progression towards a peak pose where beginners and advanced students meet. Follow-up with variations and modifications, then guide everyone back to a first phase. For the last third of the class, offer counter poses and inversions to cool down, closing the practice with savasana.
Amanda Correa, E-RYT 500 and founder of Spira Yoga & Wellness, cites six challenges faced by teachers when planning yoga their yoga class. These are detailed below, along with some tips for how to tackle them:
Understanding the foundation of the asanas and how to build upon them
Decide on your peak pose for your class that reflects a chosen theme and/or anatomical focus. Track the pose back to its foundations; what do each of the muscle groups need to do to create that pose. Make a list of all basic poses which work towards that goal to lengthen, contract or strengthen. Look at your pool of poses and chose two or three that have similar foundations. For example, Warrior two, extended side angle and bound side angle are phases of progression leading to peak pose Visvamitrasana.
Meeting the advanced student and the beginner student where they are simultaneously
Consider common limitations such as tight hamstrings, shoulders, hips. To include students with these issues, make note of some modifications for each pose. Then go back and think of variations to help challenge your more experienced students.
Clarifying who should enter into which asana variation
Terms such as beginner or advanced can hinder some students progress. Instead chose language that helps each student to be where they are in that practice. For example, if you have a headstand practice, in the center of the room, you may move into headstand now. Everyone else please remain in child pose, the first phase, or follow my cues into half headstand.
Keeping the students’ self-esteem high
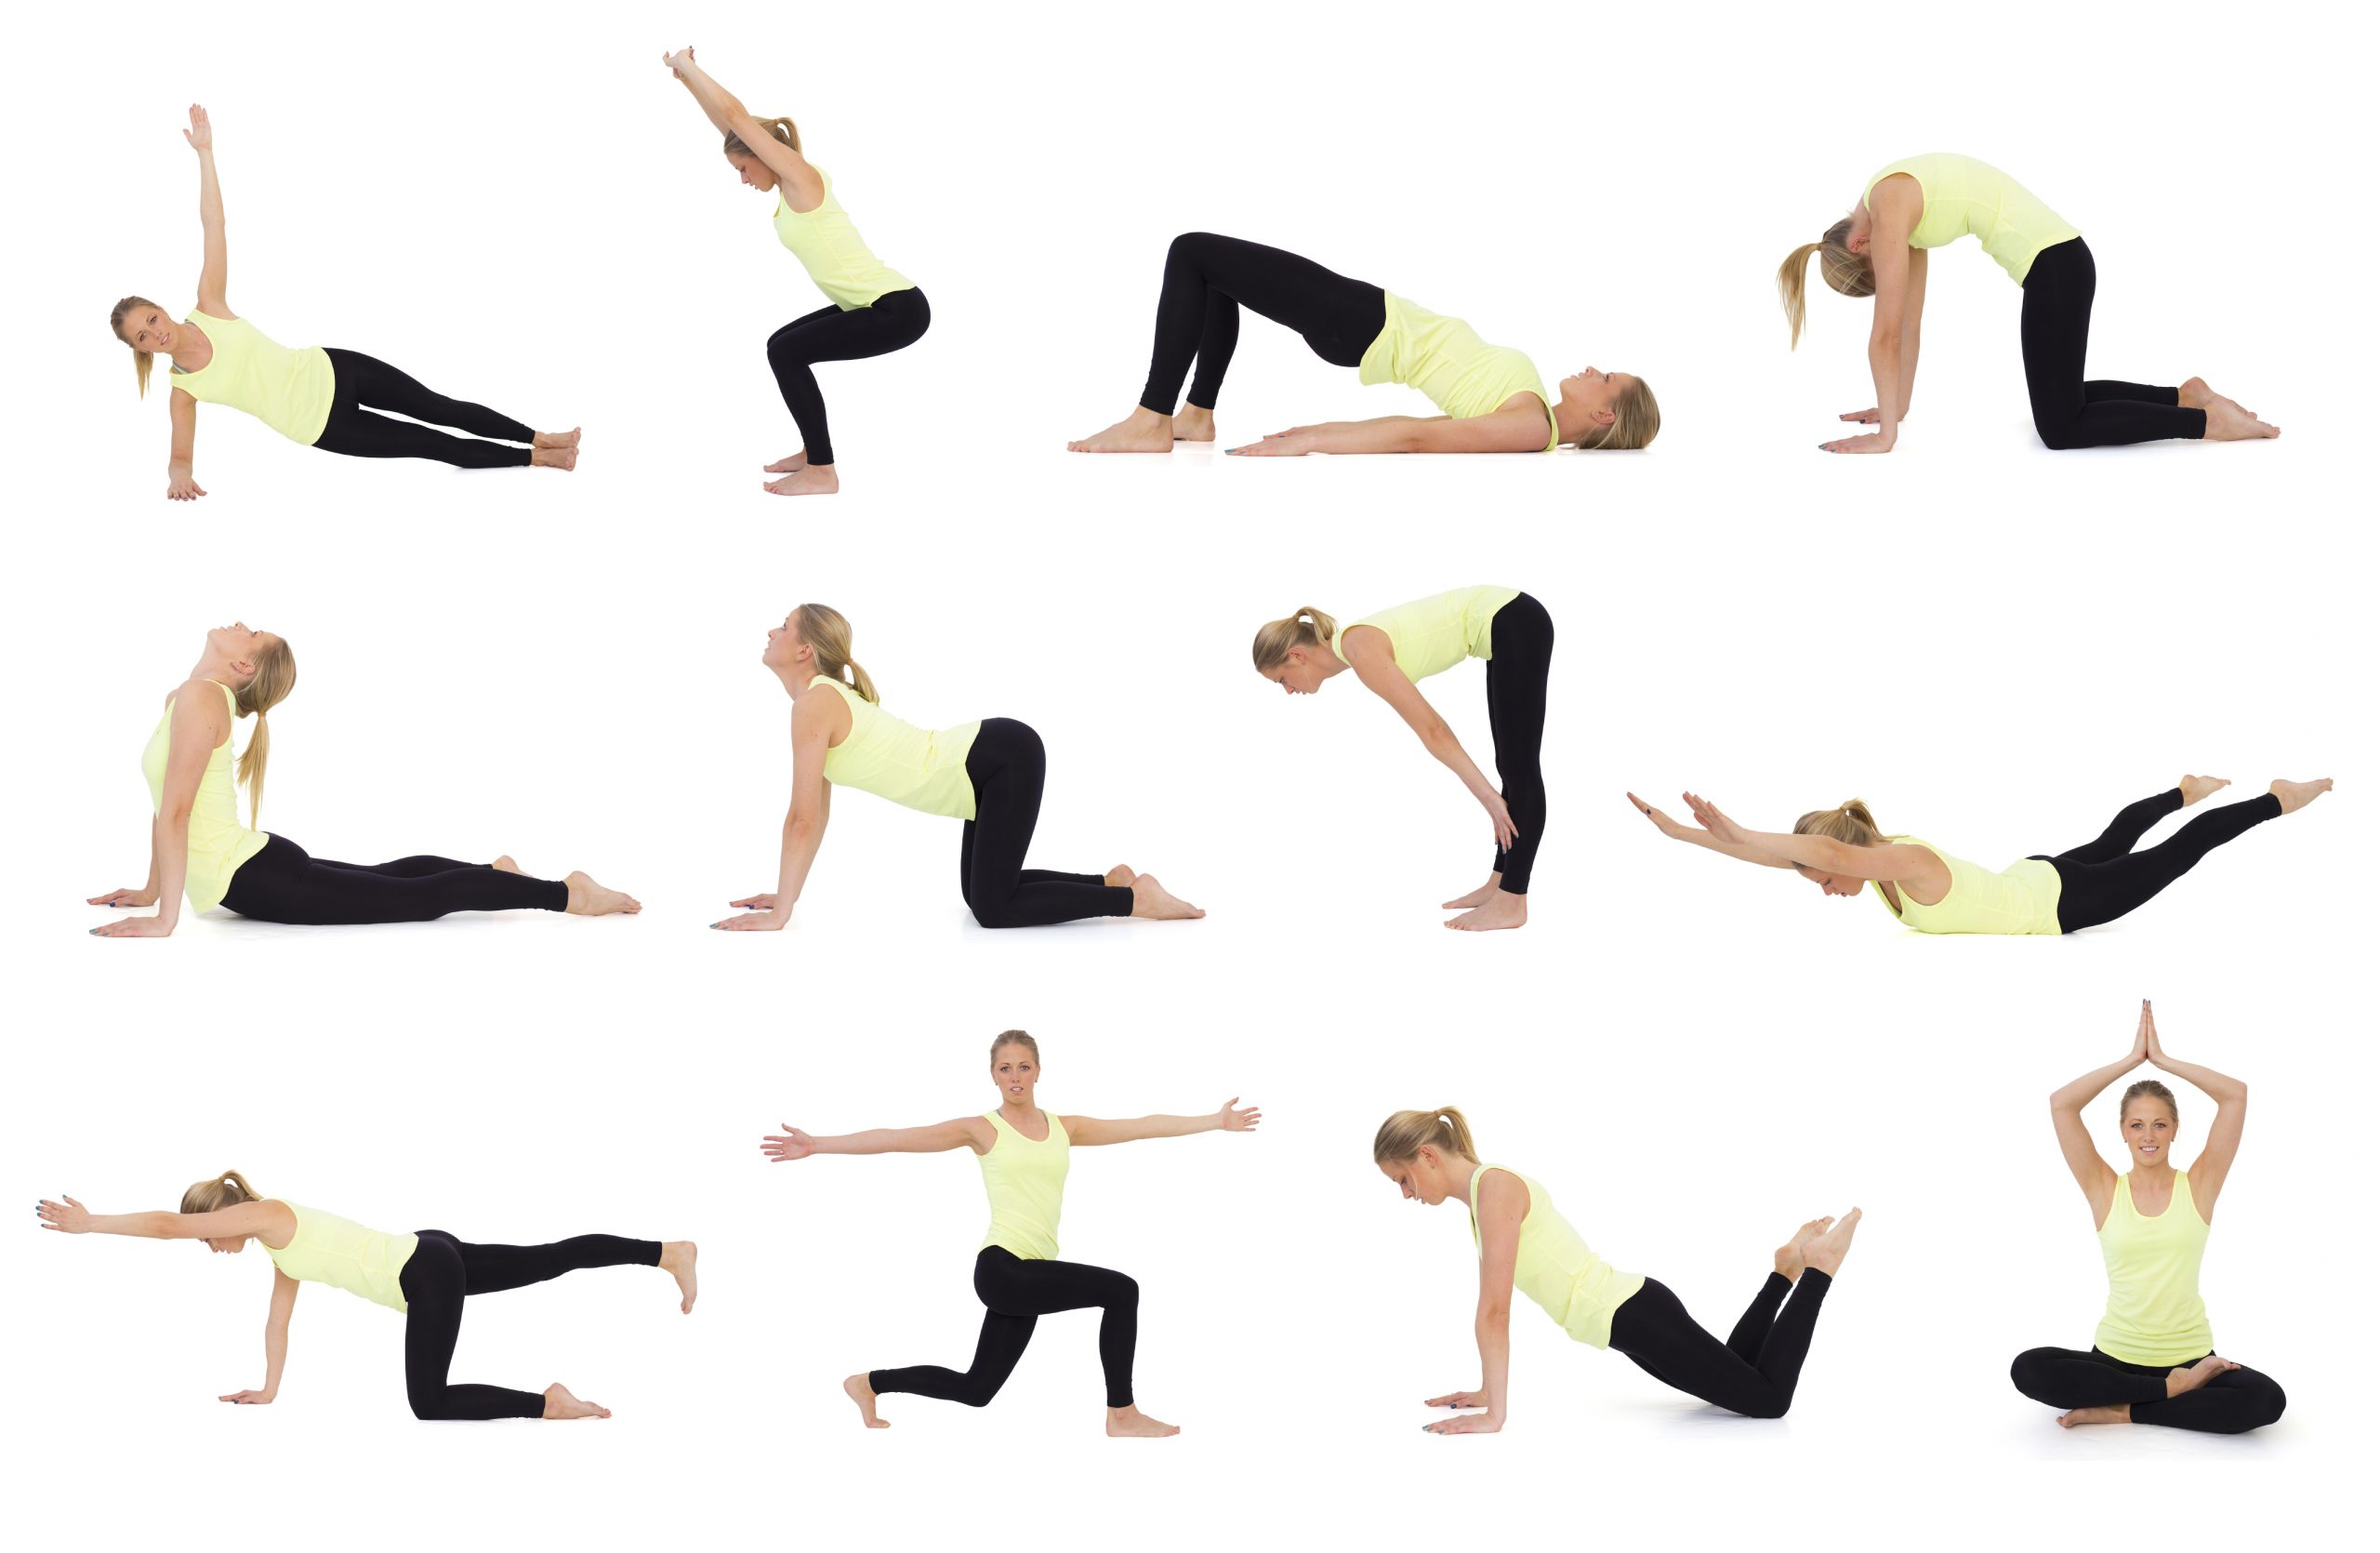
Start off by introducing the focus of the class and the peak pose with some warm up poses that stretch and warm-the muscles. Gradually move onto poses which increase in difficulty, engaging the muscle groups and parts of the body needed to achieve the peak pose. For example moving from child to cat-cow to standing on one knee to low lunge…modifications variations might include hands on blocks, knee on blanket, a bolster under knee. Possible variations offered, hands in prayer, raised, palm together, toe tucked, flat, hips forward, arched back. To lizard building towards a hip opener such as
TMaintaining the integrity of your sequence
Write out several versions of your Yoga sequence. Then get out your mat and try them. Determine which sequence best open the hamstrings for splits, engages the abs for boat pose or prepares the shoulders for crow. Afterwards, select poses which best counter – undo or resolve the pose. Then stick to it, offering modifications and variations as needed for each student, but NEVER CHANGE THE SEQUENCE.
Retaining your sanity as a teacher
Save your work. Don’t try to re-invent the wheel every day. Instead try creating a monthly cycle around a series of peak poses or simply vary the sequences as needed for new themes or classes. Stick to the same format, for example, I aways begin with breathing and stretching, building a progression of asanas to the peak pose, followed by counter poses and seated asanas leading to inversions or meditation or relaxation.
To get creative while planning Yoga sequencing, think of the class as a story,. In fact many yoga teachers read yoga stories, inspiration quotes even poems at certain points in the class. This works particularly well in Yin Yoga, where students may find it challenging to hold a pose for five minutes or longer. Another tried and true method is journaling or brain storming. Simply write down all your favorite poses and then reflect on the connections. What story do they tell ? How could you recreate that experience for your students using music, asanas, visual cues? Finally create some note cards – each with a peak pose and the foundation and progression poses needed to get there. Have these at hand when planning your sequence. As you go, add quotes or stories to each card, soon your sequence will make itself known to you.
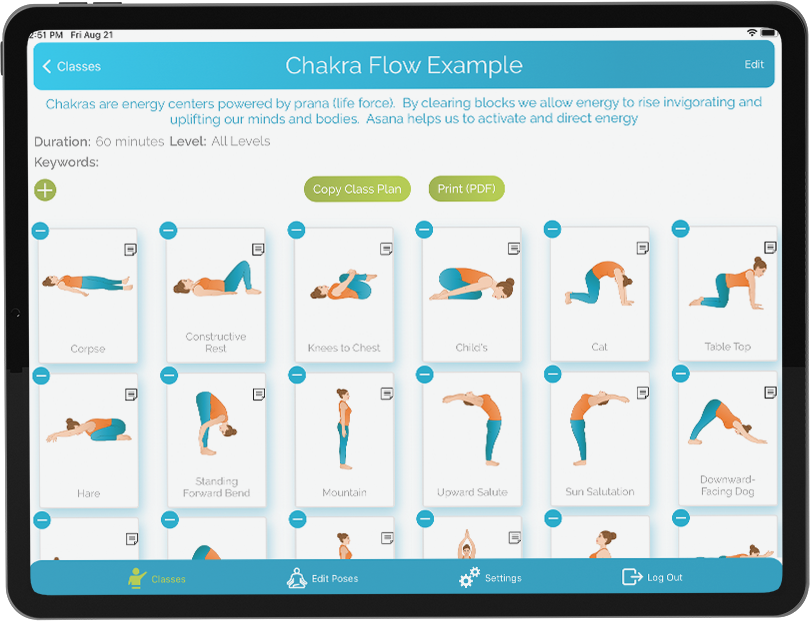
Looking for more inspiration for your next yoga class? YogaClassPlan sequence builder gives you access to 7000+ shared class plans in your hands. You can create your own completely new class sequences by choosing from 500+ pose illustrations. Simply drag and drop poses to create your routine, add class plan details such as duration and level, and share the class plan with your students. Sign-up for a 15-day YogaClassPlan free trial today.
Brenda Hamlet is a RYT 200 yoga teacher and journalist. More information about Brenda can be found at https://www.facebook.com/brendahamletyoga
Posted in Teacher Training, Teaching Resources, Teaching Tips


